Hey, paleo people: do you miss JELL-O style chocolate pudding? This homemade dairy-free chocolate pudding is made with just six ingredients and your whole family will love it!
Shortly after I created my Matcha Pudding recipe, my younger son, Ollie—who does not like matcha nearly as much as his mama—asked if I could make him a chocolate version. He specifically requested a pudding that was similar to the boxed stuff I used to make for him. And one more thing: “It can’t taste too healthy, mom.” Challenge accepted!
Table of Contents
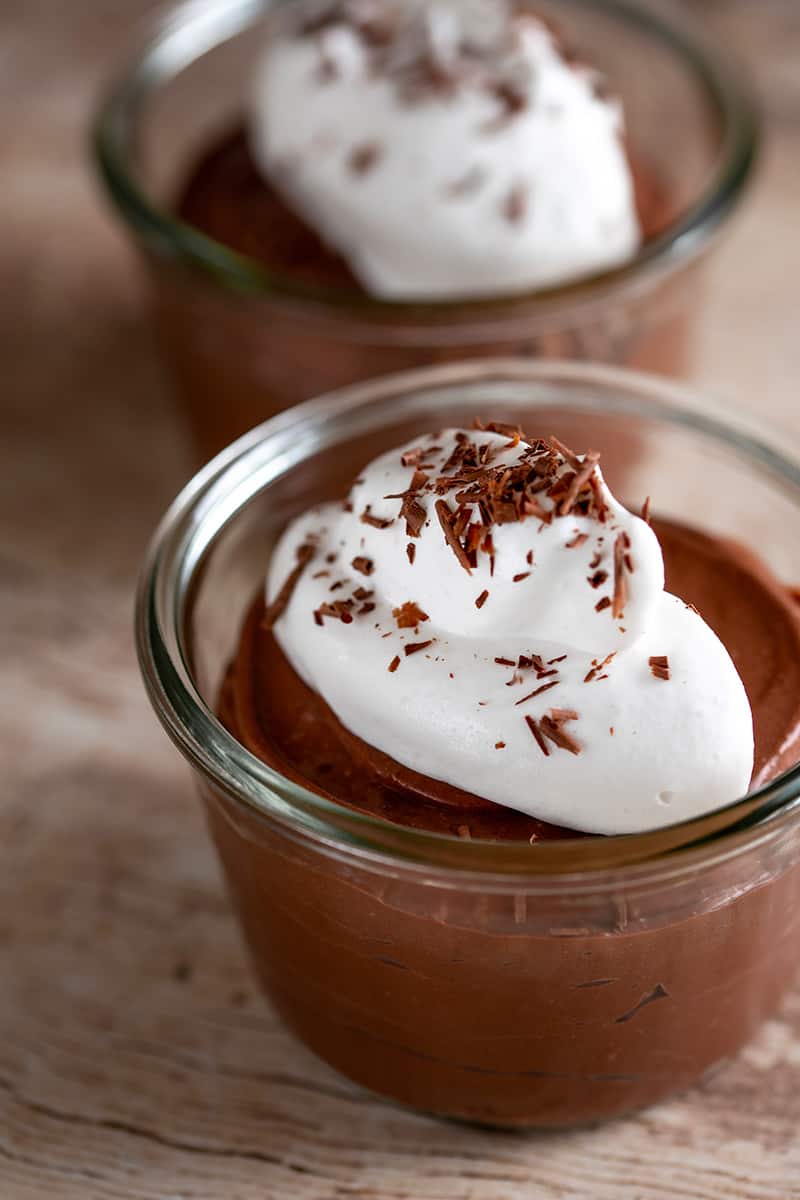
Dairy-free chocolate pudding
I totally understand where Ollie is coming from. One of my favorite childhood desserts was JELL-O chocolate pudding—a creamy treat that I, a mere middle schooler, could make myself. But long after I became a mom, I started actually paying attention to the ingredients printed on those cardboard cartons, and what I saw made me stop buying this treat. It wasn’t until Ollie made his request that I decided to recreate this dessert. Thankfully, I found that I can make a version with paleo-friendly ingredients stocked in my pantry and have it taste good enough to win my picky son’s approval.
Extra cocoa = Not Coconutty
One of the things Ollie complains about when I make coconut milk-based paleo desserts is that they all taste too much like coconuts. I’ve tested this recipe with almond and cashew milk, but I truly love the creaminess from canned coconut milk (I use the 365 Everyday Value brand full fat canned organic coconut milk) so I needed a way to make the coconut less noticeable.
The solution? Boost the amount of cocoa powder! When I increased the amount of cocoa powder to ⅓ cup, Ollie didn’t even notice the coconut milk when he wolfed it down—he just thought it was nice and chocolatey. You can use natural cocoa powder or Dutch-processed cocoa powder in this recipe—you can’t go wrong with either one!
Whip for creaminess!
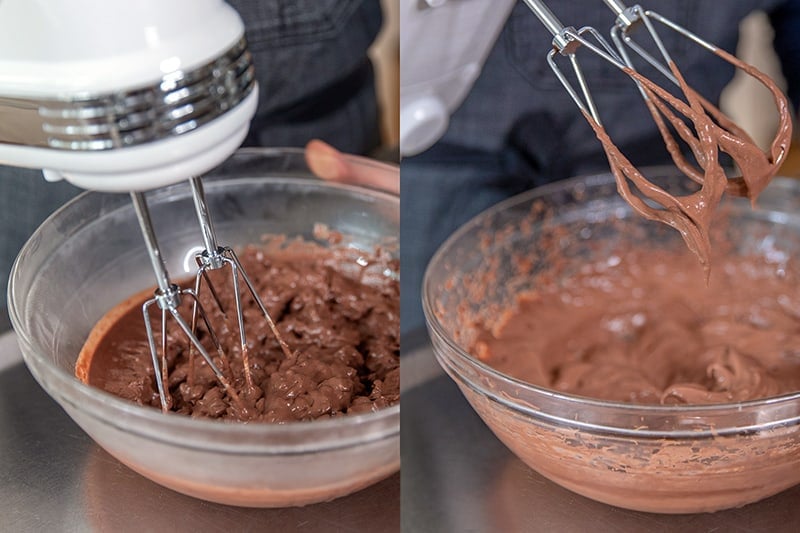
As with my gelatin-thickened matcha pudding, you need to use a hand mixer to whip up the chilled chocolate pudding to the right consistency. The key to the ultra-creamy texture is to whip it with a hand mixer or whisk—and to continue whipping until the gelatinous chunks transform into a smooth and creamy homemade chocolate pudding. Remember: if you refrigerate the whipped pudding to eat later, you’ll have to whip it again to achieve the same soft texture.
Ingredients
- Full fat canned coconut milk: Coconut milk is my favorite non-dairy milk in this recipe because it tastes super creamy. You can try subbing almond milk or oat milk but it won’t turn out quite as rich.
- Gelatin: Make sure you are using gelatin and not collagen peptides by mistake! Collagen peptides won’t gel!
- Unsweetened cocoa powder
- Honey: If you want to make it low-carb or keto, you can substitute liquid allulose in place of honey.
- Diamond Crystal brand kosher salt
- Vanilla extract
- Whipped coconut cream (optional)
- Dark chocolate shavings (optional)
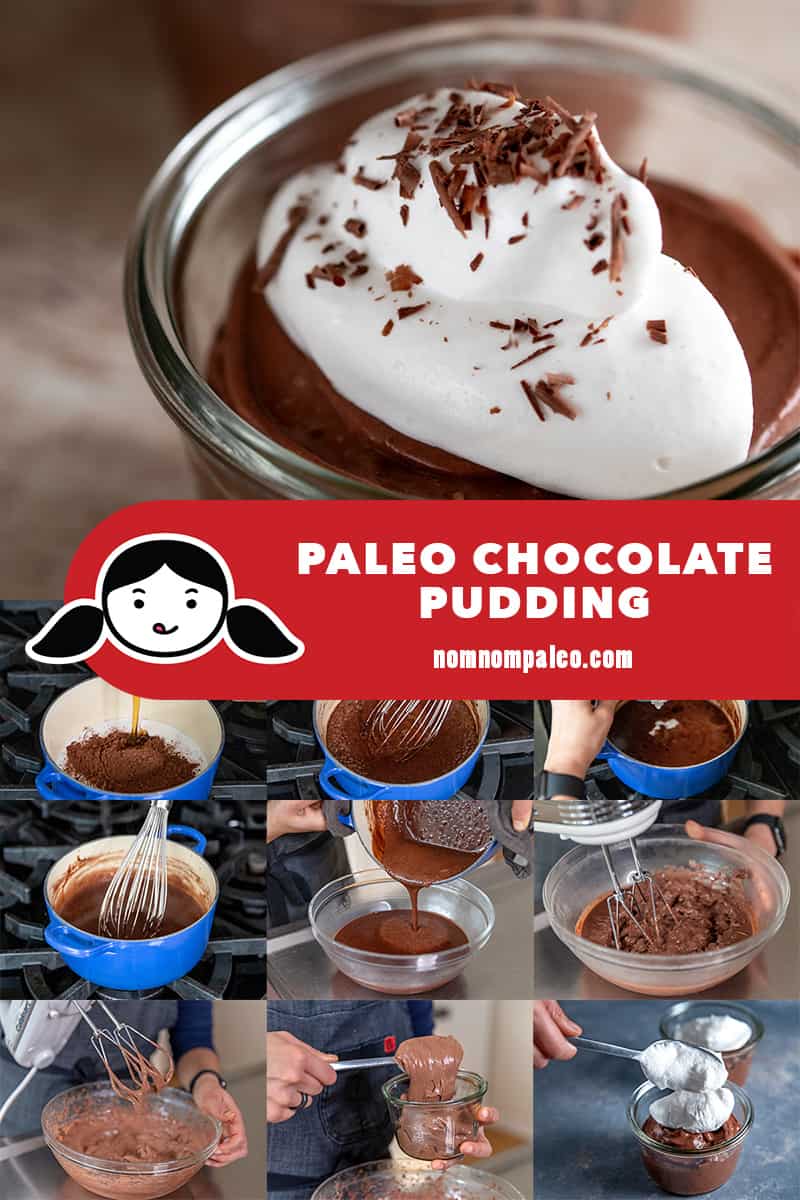
How to make dairy-free chocolate pudding
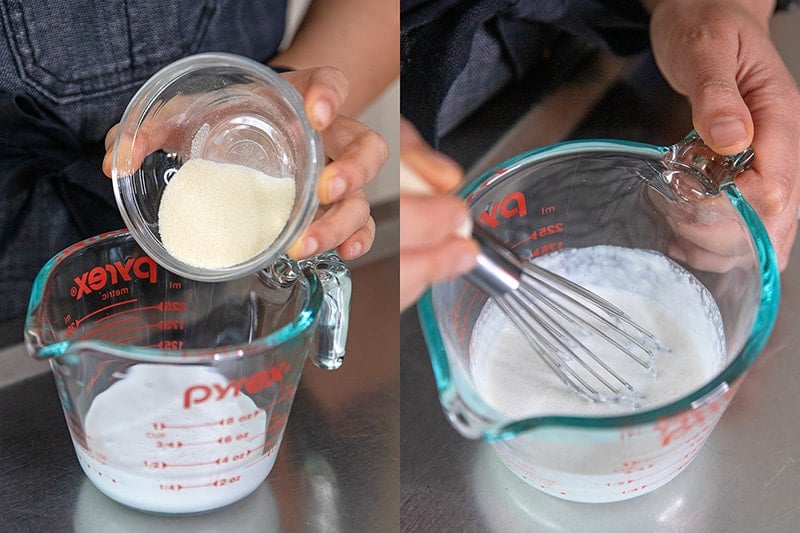
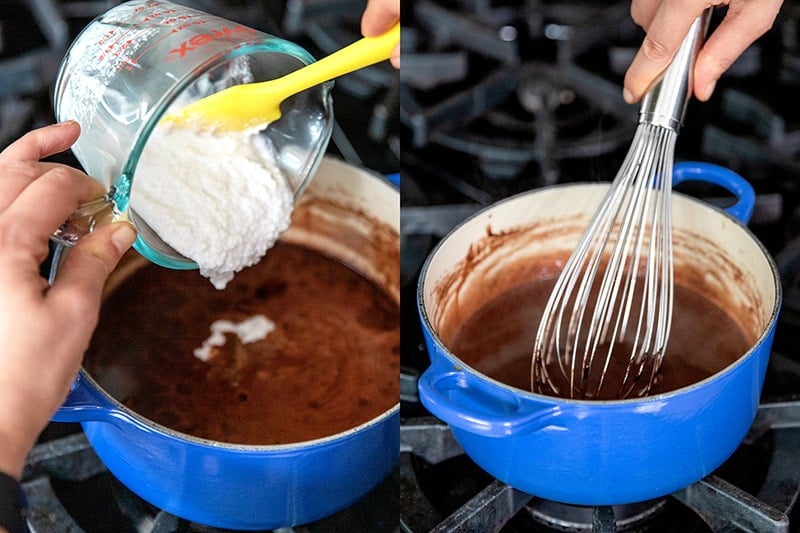
Shake the can of coconut milk well, and pour a ¼ cup of it into a measuring cup. Add the gelatin and whisk it into the coconut milk until well incorporated. Set the mixture aside.
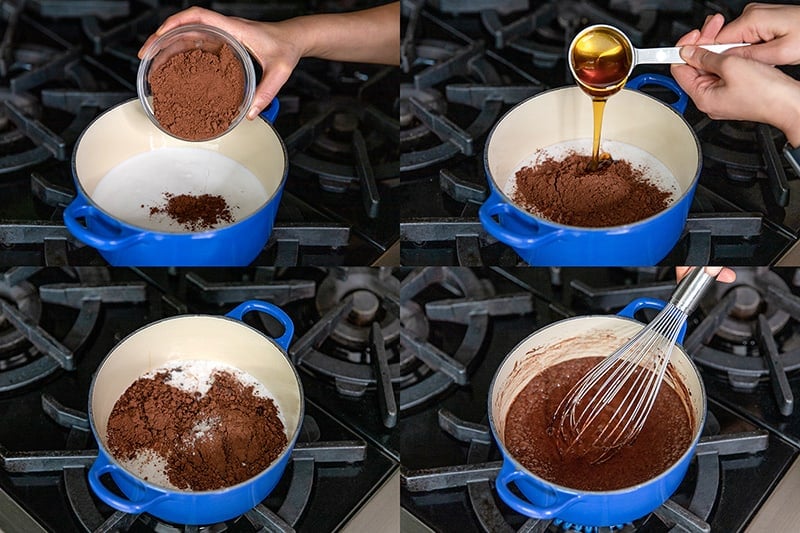
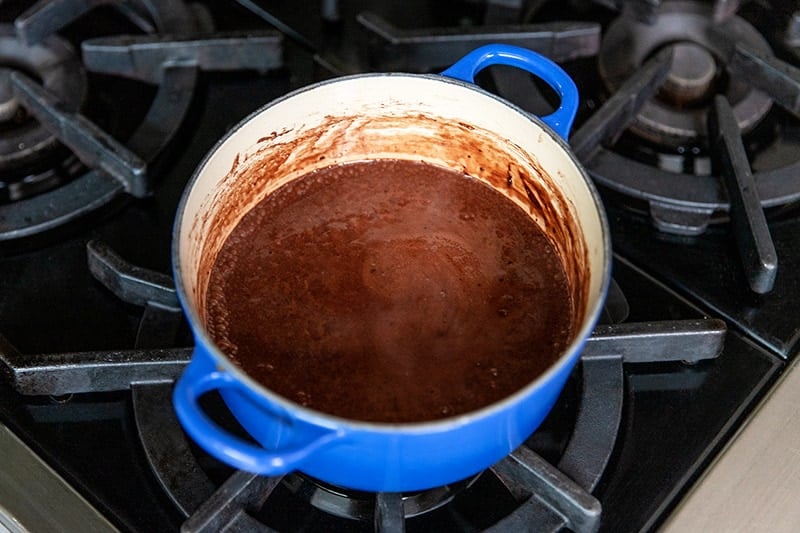
Next, heat the remaining coconut milk, cocoa powder, honey, and salt over medium heat, stirring frequently, until these ingredients are well mixed.
Cook the chocolatey mixture until bubbles appear on the edges of the saucepan. Turn off the heat.
Add the reserved gelatin/coconut milk mixture and vanilla extract to the pan. Stir well.
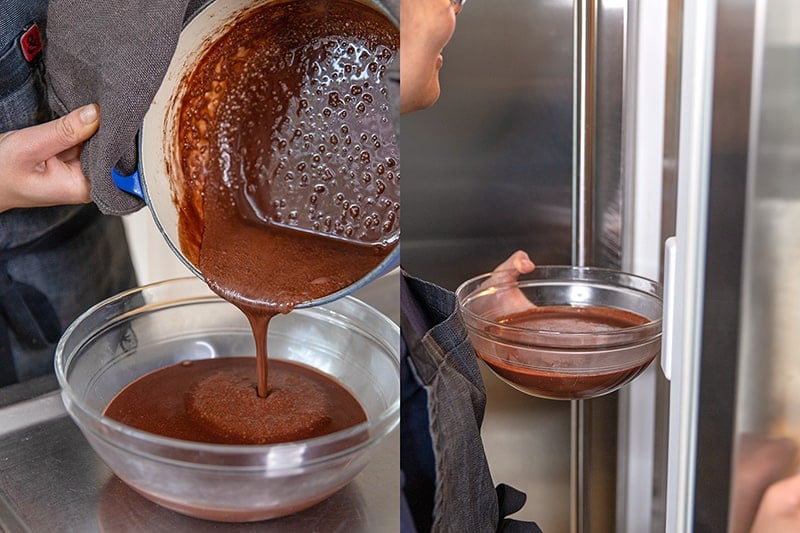
Chill the mixture for 30 minutes uncovered and then covered for an additional 1½ hours or until solid. (Pro tip: You can keep it in the fridge for up to 4 days before serving.)
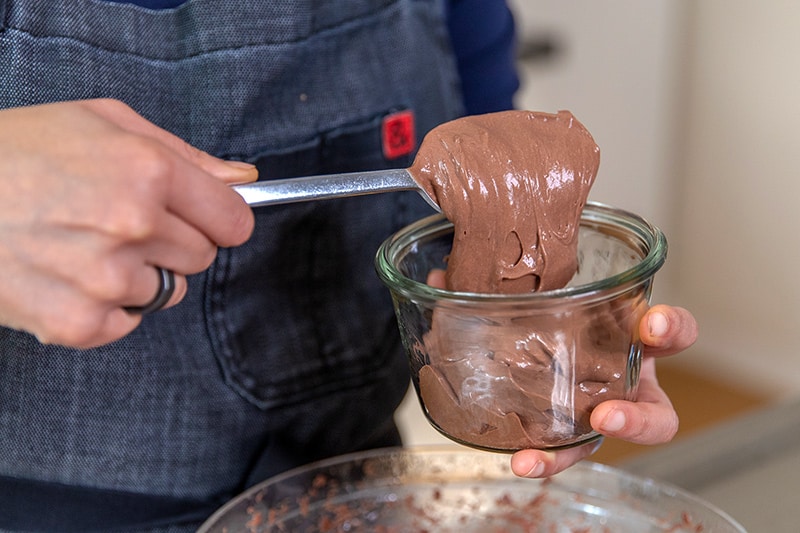
With a hand mixer or whisk, beat the pudding until it’s nice and fluffy and transforms from a stiff JELL-O-like texture to a thick and smooth pudding.
Divide the pudding into four bowls or cups.
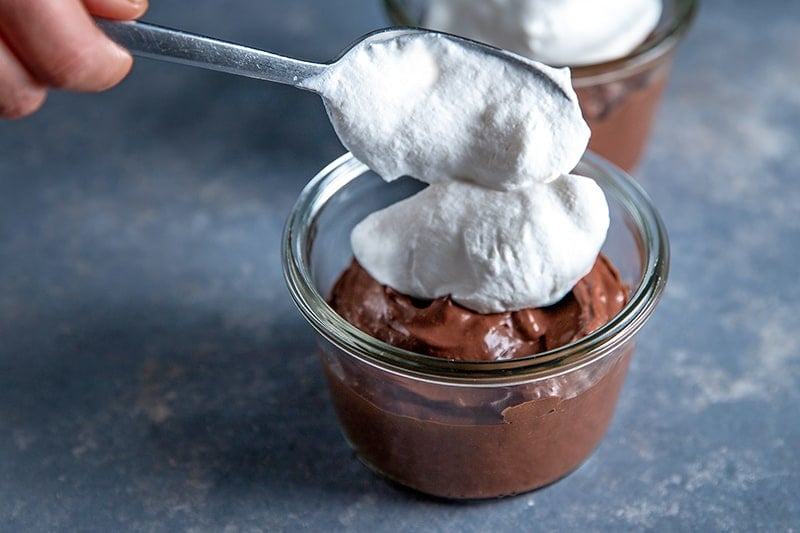
Spoon on a dollop of whipped coconut cream if desired. You can also shave some dark chocolate on top to make it extra!
How to store the chocolate pudding
You can store the pudding in the refrigerator in a sealed airtight container for up to 4 days and whip it up right before serving. If you refrigerate the whipped pudding it will solidify and get a jell-o texture and you’ll have to re-whip it again to get the correct pudding texture.
More healthy chocolate dessert recipes
Looking for more recipe ideas? Head on over to my Recipe Index. You’ll also find exclusive recipes in my cookbooks, Nom Nom Paleo: Food for Humans (Andrews McMeel Publishing 2013), Ready or Not! (Andrews McMeel Publishing 2017), and Nom Nom Paleo: Let’s Go! (Andrews McMeel Publishing 2022).
PRINTER-FRIENDLY RECIPE CARD
Paleo Chocolate Pudding (Dairy Free, Gluten Free)

Ingredients
- 13.5 ounces full-fat canned coconut milk divided
- 2 teaspoons gelatin
- ⅓ cup unsweetened cocoa powder
- ¼ cup honey
- ⅛ teaspoon Diamond Crystal kosher salt
- 2 teaspoons vanilla extract
- whipped coconut cream optional
- shaved dark chocolate optional
Instructions
- Shake the can of coconut milk well, and pour a ¼ cup of it into a measuring cup. Add the gelatin and whisk it into the coconut milk until well incorporated. Set the mixture aside.
- Next, heat the remaining coconut milk, cocoa powder, honey, and salt over medium heat, stirring frequently, until these ingredients are well mixed. Cook the chocolatey mixture until bubbles appear on the edges of the saucepan. Turn off the heat.
- Add the reserved gelatin/coconut milk mixture and vanilla extract to the pan. Stir well.
- Chill the mixture for 30 minutes uncovered and then covered for an additional 1½ hours or until solid. (Pro tip: You can keep it in the fridge for up to 4 days before serving.)
- With a hand mixer or whisk, beat the pudding until it’s nice and fluffy and transforms from a stiff JELL-O-like texture to a thick and smooth pudding.
- Divide the pudding into four bowls or cups. Spoon on a dollop of whipped coconut cream if desired. You can also shave some dark chocolate on top to make it extra!
Notes
Nutrition
Nutrition information is automatically calculated, so should only be used as an approximation.


Have you tried making it with an immersion blender?
I don’t think an immersion blender whips it up as well as a mixer.
I loved this! Thank you!
great recipe – easy and delicious.
Do you think using regular whole milk would work in this recipe? Our family loves your recipes! Thanks for being such an amazing resource!
Yes, whole milk should work!
Could I use this filling for a pie? Thank you for your help
Oops, I meant to write Could I use this for a pie filling?*
Could I use almond milk?
Yes, it won’t turn out as rich, but it will work!
This is AMAZING!!! Just what I wanted. Thank you!!